Mantic has released the Beta versions of the Digital Adventure Books for Dungeon Saga Origins so I will use that to provide an overview of the Dungeon Saga Solo/Coop Mechanics.
Dungeon Saga Origins Digital Overlord
Mantic refers to this as a Digital Overlord but it is better to think of it as a digital adventure book as that makes it clearer that it is not there to manage everything for you and is really designed to keep the hidden information hidden to keep the surprises for the missions. All of the analog solo rules from the rulebook are still in use. It is suggested that you read those rules before starting to use the App as those rules are not shown by the App.
Once you have logged in or created a log in you will need to create a campaign to track your progress.

Once you have created the campaign it will send you to the campaign home page.

Currently only core game option are available for the characters. If you want to use different characters just do a one to one mapping like Rordin is the slot for Saulion. Generally I would use these for keeping track of experience and gold but just use the cards for items and putting the characters owned items with their feat card when packing up.
Once you have played the Narrative audio then you can start on the first quest.

This will show you the basic tile positions and provide the narrative text/audio. The mission objective is provided in this text so pay attention. You will also need to know the Marauding Monster type for the Adventure. It should likely be displayed on this screen but is missing currently so you will need a quick glance at the Adventure book currently. It is Zombies for Adventure 1.
Once you close this pop up, the starting mission map will appear which you then setup on the table top as per a normal game.

You can use the +- to zoom while the home button exits the quest. There is no middle quest save so I would suggest screen capturing or taking a photo of the board along with notes if you need to stop and pick up another day.

Here is how I setup my table for solo play. Heroes on one side. Monster Rules along with their AI cards on another. Tokens and other stuff at the top.
A quick tour shows

Overlord Mat from the Ultimate Extras wit the exploration deck, a 5 card seeded discard pile (this is not part of the rules but how I like to play it. Officially until you get discards from searching you cannot be interrupted but I like the action to start right away), a randomized trap token pile, the overlord interrupt tokens, spawn point tokens, door tokens, Overlord mood card set to passive at the start, and gold pile. Other tokens are needed for other missions so placing them all out initially can make it easier when one of those surprises like a portal shows up.

Heroes are set up normally with their damage trackers, feats, spells and revive tokens.
Now the game is ready to start.

The Heroes start their turn and Orlaf moves up to kill the close Skeleton Warrior.

Orlaf rolls his 5 dice and the skeleton warrior 2 dice. Orlaf gets a 5,4,3,2,1 while the skeleton gets 4,4. We reject the 2,1 as not beating the skeleton warrior's 2 armor then do the pair wise comparison with the 5 beating the 4, the 4 being blocked by the other 4 and then the 3 having no block die to compare and hitting. So 2 hits which equals the damage capacity and thus returns the skeleton to the grave,

This completes a Hero's activation so now we check the AI Overlord Mood. It is currently passive so we would not check for an interrupt but we will double check the conditions. No new door was opened, no trap triggers, and the attack was successful so it will stay passive and there will not be an interrupt check.
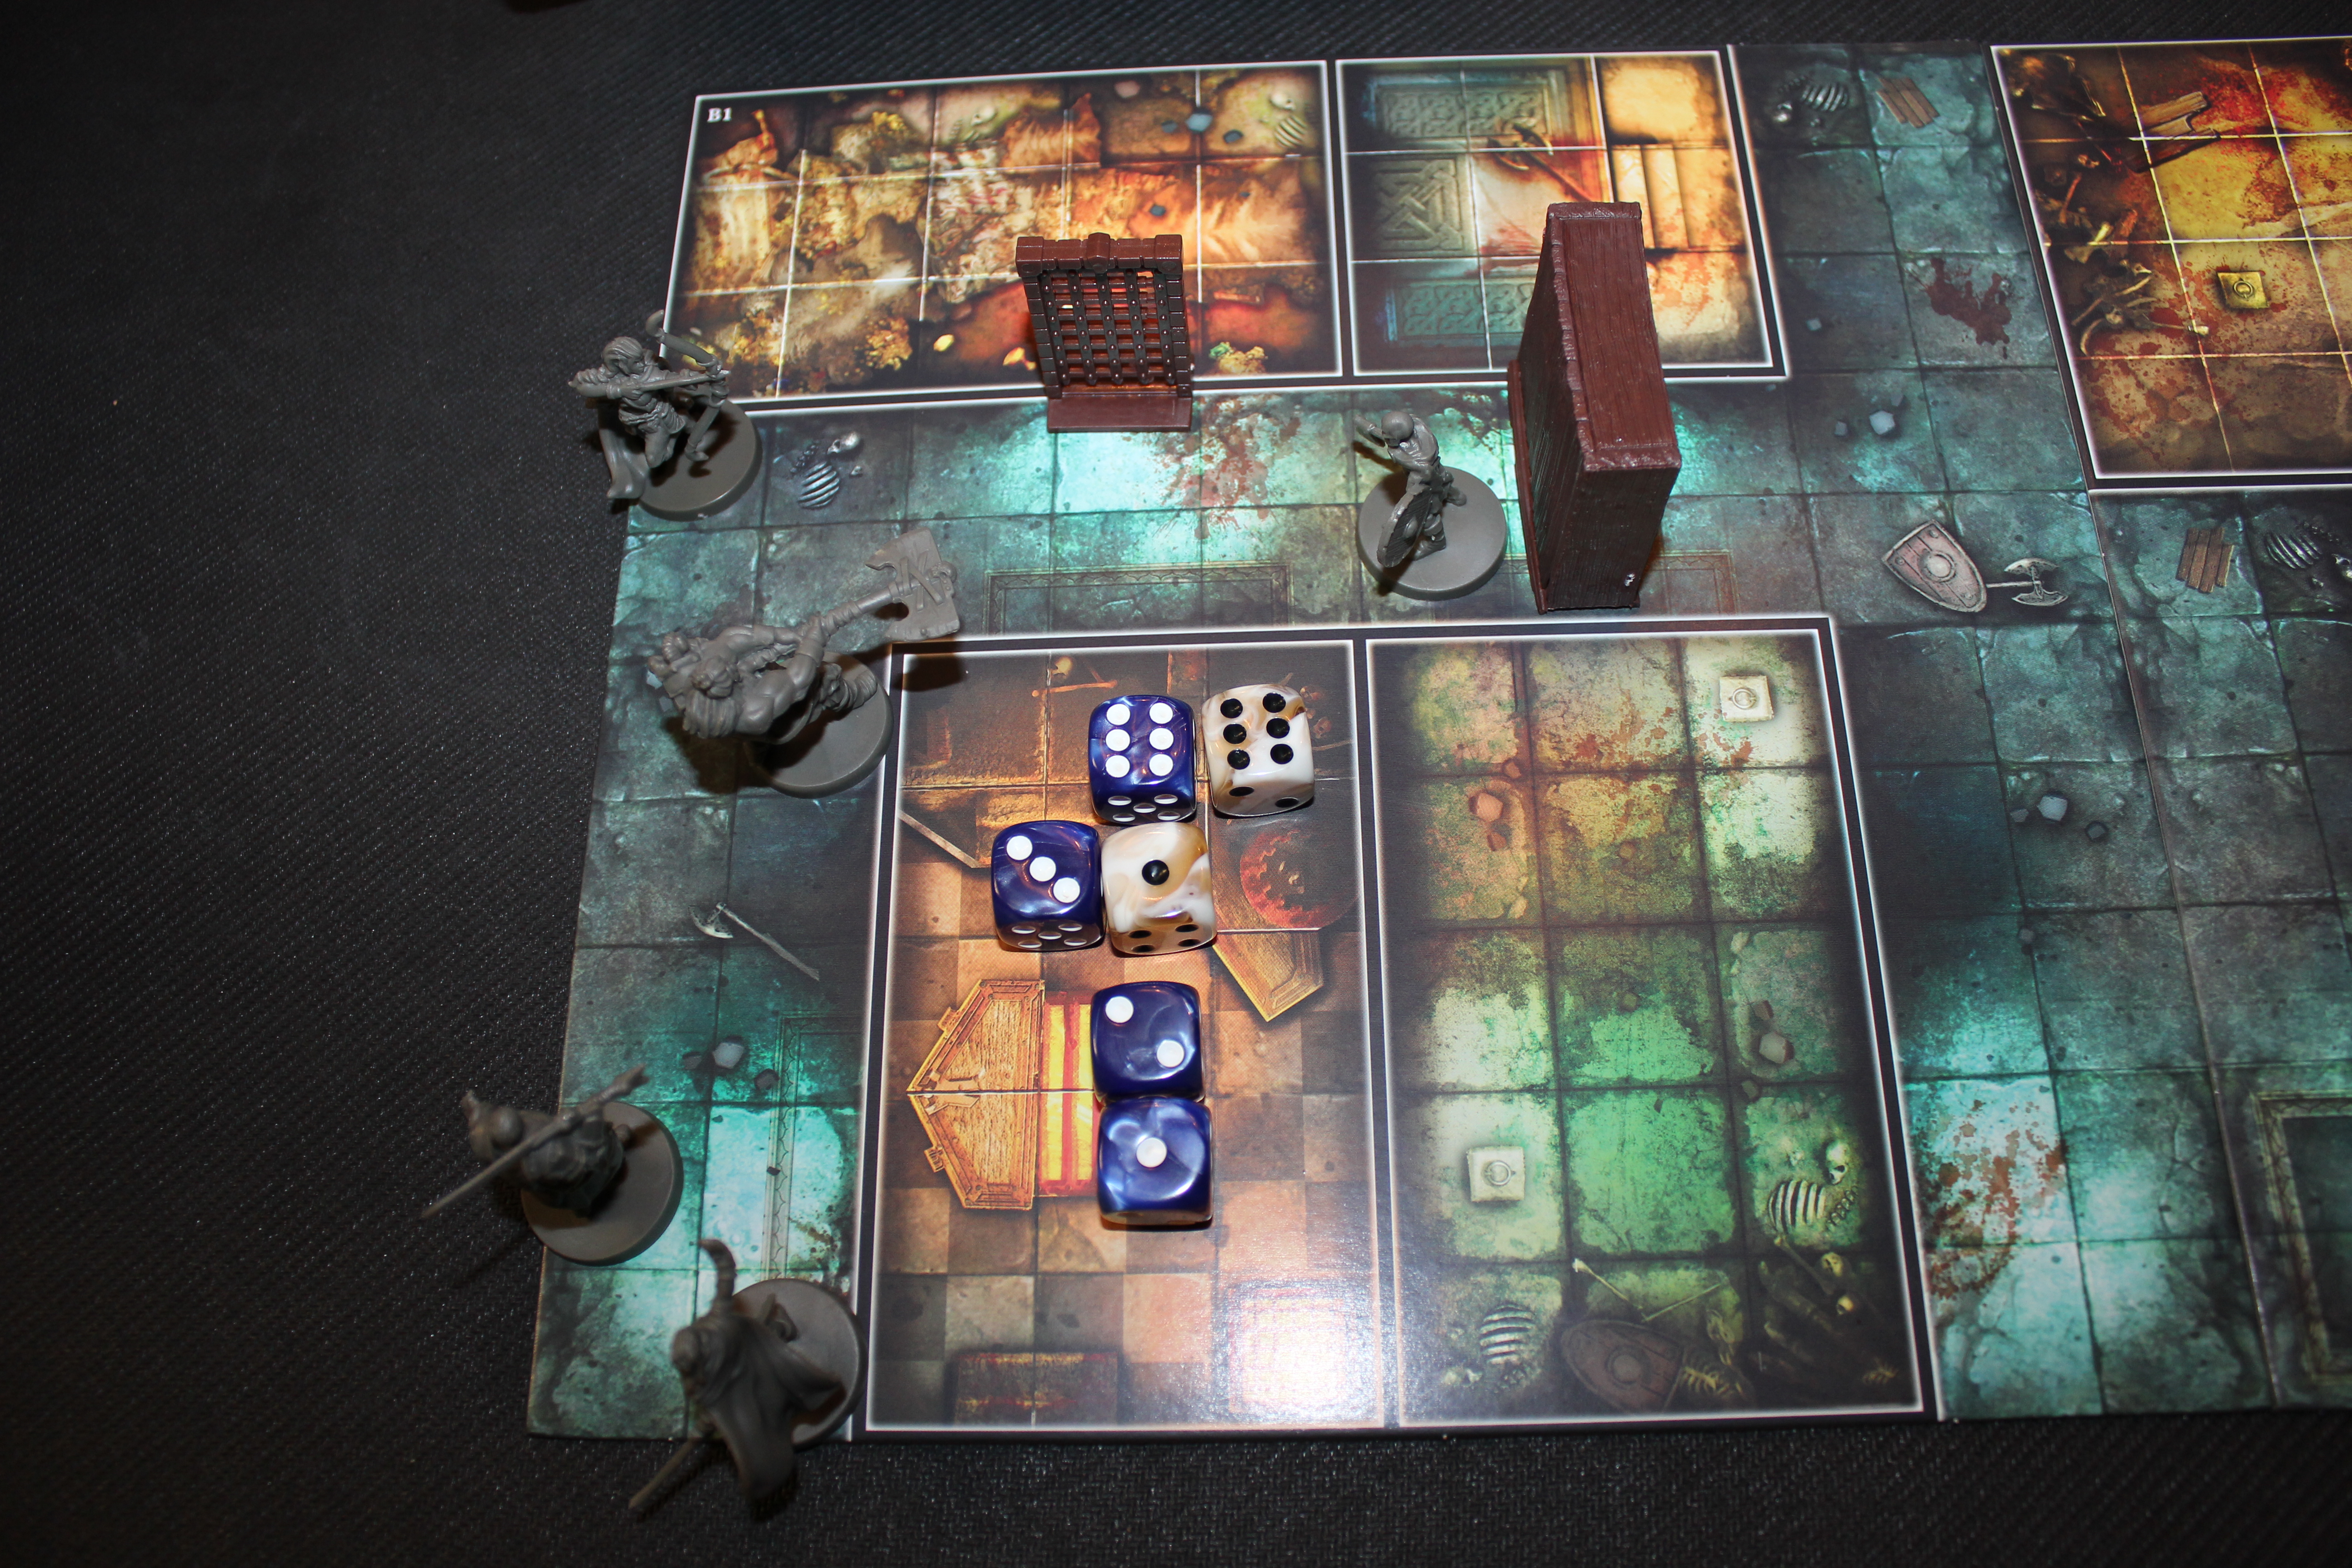
Madriga next takes a move then an action to shoot the other skeleton warrior. She has 4 dice and generates a 6,3,2,2 with the skeleton warrior defends with 2 dice with a 6 and 1. The 6 is therefore blocked but the 3 beats the 1 (which could just be rejected with the 2 and 1 that flaw to defeat the armor). This means 1 hit which is below the Damage Capacity of 2 so the Skeleton Warrior survives.
So this attack did not generate an damage which is one the conditions on the Passive Overlord Mood to switch to Aggressive. So we wil flip the card and then draw the card from the bottom of the Exploration discard pile to see if has an interrupt icon.

The card does have the Interrupt Icon in the lower left corner. After drawing the card it is placed on the top of the pile. This mechanism allows for a double use of the cards while drawing from the bottom means that the Heroes do not know if it is an interrupt or not.
So an interrupt is generated so now is a good time to look more closely at the Minion cards.

One thing Dungeon Saga veterans might find themselves forgetting is that more of the models have special rules. So the Skeleton Warrior has the Restless Bones which give a reroll of a single 1 on a die when they attack so they a little more punch than their basic 2 dice seem to show.
For the AI rules the important item is the Mindless label in the lower right. This tells us what AI rule card to use for their actions.

A quick tour of the card shows that Mindless undead always target the closest enemy, move in the most direct path not trying to take cover or hide behind a corner if thay cannot close the gap. Next we see a list of questions that we try to answer in the order provided. Is the Minion already engaged? The definitions for these can be found in the solo rules in the back of the book but quickly this means he already has an enemy in his front arc. If so he will attack that enemy. If he has no enemies in his front arc we move to the next question. Is he Flanked? So does he have an enemy in his back arc. If so he will turn to attack that enemy. The different cards might have these in different orders depending on the minion type as sometimes you might be both engaged and flanked but by turning your could just be engaged. Mindless undead are not smart enough for such concerns.
Neither of these conditions apply to the skeleton in question so we move on. He does have a enemy in sight but as he lacks a distance attack he ignores this and goes to Close? where he will move the minimum distance to attack with the Fight attack the closest enemy.

So the Skeleton will move up and Attack Orlaf but fail to damage him and did not get to reroll anything since he did not get any 1's. Since the attack did not cause any damage one of the Overlords interrupt tokens is not spent. Also the Overlord Mood card stays Aggressive. A smart human overlord would see that a better move for the Skeleton would have been to attack Madriga as he could have gotten to her without going in Orlaf's front arc and she has only 3 fight dice so a much better target but the Skeleton is not a bright as we are so follows its mindless rule. This is one of the reasons that the interrupt tokens are only used if damage is done as the AI system generates more interrupts at less advantagous time compared to a human overlord who will deploy them only at the best time.
Next it is a Heroes turn and Saulion moves up and attacks the Skeleton Warrior

Normally Saulion's dice would not have been enough to defeat the Skeleton warrior but the Warrior is outnumbered so reduces its armor value by 1 since its fight value is already the minimum value of 2. With that ending Saulion's activation now we check on the Overlord Mood and Interrupt status.

Next Fenarial will move up by the other heroes and search. Now we need the App again as it knows what searching different map locations will generate being just a basic draw an exploration card, or finding a secret door or some other special event.

So now we will touch the Search Icon in the room/corridor being searched. In this case the App just directs me to draw a physical Exploration card which was a healing potion in this case.
This brings us to the end of the Hero Phase and the start of the Overlord Phase. Since there are no Overlord models on the board a special AI based rule comes into play. The A New Threat rule is detailed on page 23. This rule can place new monsters on the board but it goes through a progression of checks. First it checks if their is a spawn point on the board. In our case there is not so the rule directs you to place such a point to be used to generate monsters in the future.

Placing the token on a hero starting square. As the game progresses if the check is made again then the spawn point might move to another tile to keep it close enough to the heroes to be of danger or use the same interrupt check mechanic to see if a marauding monster is spawned on the token.
At the end of the Overlord turn the Overlord Mood card is returned to passive to see if the heroes in the next Round will generate any events that seem to be advantageous for the AI overlord to try to use interrupts.
Moving to the next Hero turn they move up and open the door. So one again returns to the app and hits the door icon to see what lies behind the door.

This then reveals

So the App tells us where the new monsters are and the door to the next room.

Saulion had opened the door during he movement them completes his movement and attacks the skeleton and removes it. Now we are back looking at the Overlord Mood. The Heroes opened a door so the Mood returns to Aggressive and with the Hero activation complete we check for an Interrupt.


Looking quickly at the Mindless card we see that the In Sight condition is the first one satisfied in a meaningful way so the Archer will shoot at Saulion.

Saulion's Armor of 4 makes the 2 three results useless but that 6 gets by the 5 to do a wound. Since this attack did a wound it will both use up one of the Overlord Interrupt tokens and place the Mood back to Passive.
Now that the basic structure has been shown we are going to speed things up and just hit a few highlights of new things as the Adventure continues.
Next the Heroes will come into the room, destroy the skeleton and search it finding some gold. This finishes the Hero part of the round and the overlord again finds he has no models on the board. (This is the intro mission right so pretty smooth for the heroes as they learn the ropes). Since their is a spawn point on the board and there are heroes on the same tile without the path between them crossing onto another tile, the AI Overlord checks to see if it can place a monster. It does as their is another interrupt icon so a Marauding Monster for the mission which is a Zombie is placed on the spawn point.
.

This is not a huge threat but just a little something to remind the heroes to keep going forward in the Adventure and not spend to many turns on positioning and such.

Jumping ahead we find that the Heroes are in the next room and it is the Overlords Turn to activate. Here we have some Zombies. Zombies have the Swarm AI rules.

Swarm Monsters are looking to Ambush Heroes and move Cautiously. Ambush is about getting bonus from Outnumbering and rear attacks while cautious means that it will not go into Heroes front arcs unless required or will stop out of sight if it cannot make it into base to base.

In this case there is a little room for interpretation of the rules. While he could get in a models rear arc, this would place them in another models front arc so I had hit move to the side of the Warlock as opposed to be standing next to Orlaf to get the outnumbering bonus. My suggestion is not to be a slave to the exact rules all the time such that you spend a bunch of time on it. If there is a choice do what seems reasonable them move on to more adventure.
After clearing out those zombies, Madriga searches the smaller room and the App again tells them to draw an Exploration card. This card is a marauding monster card so a Zombie gets placed. The AI rules have you place the Zombie as near as possible to the Searching Hero where it can get a rear arc attack is possible. So the Zombie is placed there and proceeds to attack.

The Marauding Monster card also has a rule about placing another monster on a specific die roll. This monster must be place further away so in this case ended up in the corner.
The Heroes fight there way through these undead minions then clear the next area after revealing it on the map. After some hard fought battle they find themselves with this on the map.

This room contains a trap token. So you take one of the random trap tokens and place it face down on the board with the arrow as directed. The arrow shows that every square from the token to the wall when crossed with reveal if the token is a real trap or a dummy. Smart players might say well why would I every cross the trap squares. Here we see in this case the the monster is behind the line so if you want to fight him then you either have to cross the line or shoot at him.
Saulion decides he wants to fight him so ventures forward and moves onto the trap line.

When revealed the spikes show that it was a real trap and we need to consult the trap table to see the result. Each of the trap types are easier for a different type of hero. Some traps are easier for fast heroes while others are easier to heroes with strong defense.

After the Trap is resolved the hero activation ends so he does not get to attack the overlord and remember that trigger traps switch the Mood card to aggressive (in this case since the door was newly opened it was already aggressive).
After the Heroes clear the room and search it something new happens.

This room has a secret door which is shown on the map.

There are two points to remember about Secret doors. The process of finding them opens them normally so as soon as it is revealed in the App you should press on it to open the zone and there is a chance of generating additional monsters that the App does not remind players off.


That should cover most of the wrinkles of playing the game with the App based Adventure book and Solo rules. The App will let you know when the adventure is over usually when you search the last room. If you have any questions check out the Dungeon Saga Origins Fanatics Group on facebook where plenty of nice people can help you out or the boardgame geek page.


